Skip to content


Outlook includes a built-in Notes feature that lets you note down reminders, ideas, or reference points while you work.
If you are trying to figure out how to create a note in Outlook, this guide walks you through the steps and addresses common questions about attaching notes to emails.
Table of Contents
- How to Create a Note in Outlook (Desktop)
- Can You Add a Note to a Specific Email in Outlook?
- How Teams Add Notes to Emails in Outlook
- Making the Most of Notes in Outlook
- Frequently Asked Questions
How to Create a Note in Outlook (Desktop)
Here’s a simple walkthrough of how to make a note, view it, and keep it organized.
Step 1: Sign in to Outlook
Open Outlook on your desktop or browser. Sign in to Outlook.
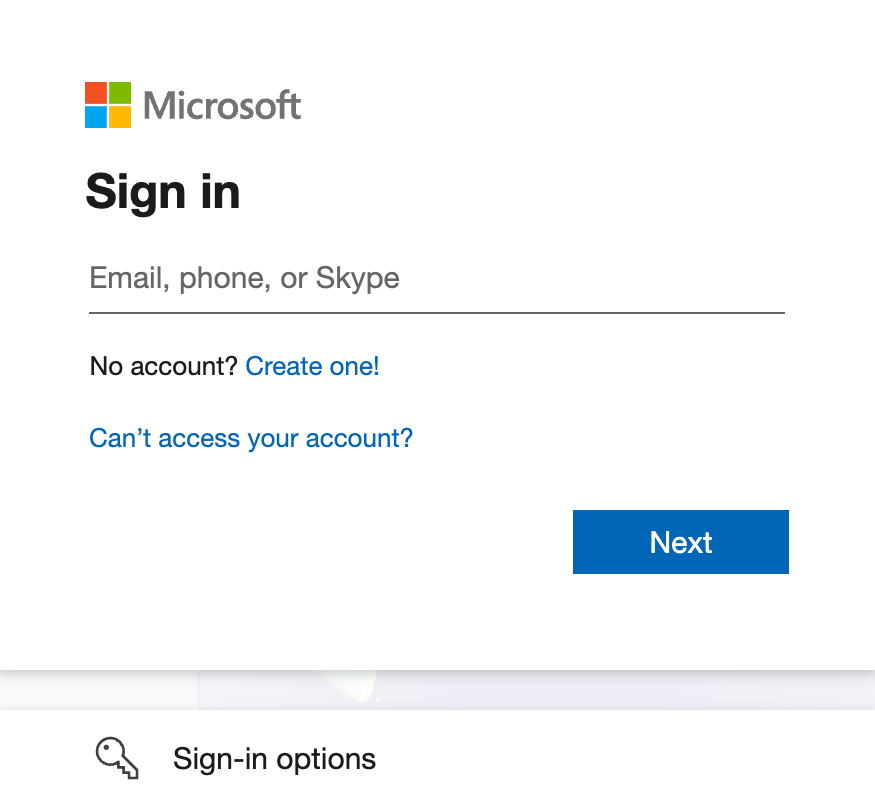
Once you’re logged in, you’ll see your main dashboard, where you can access emails, calendar, and tasks.
Step 2: Open the Notes Section
In the navigation bar, look for the “Notes” icon or folder. Click it to open your Notes workspace. You’ll see any existing notes you’ve created here.
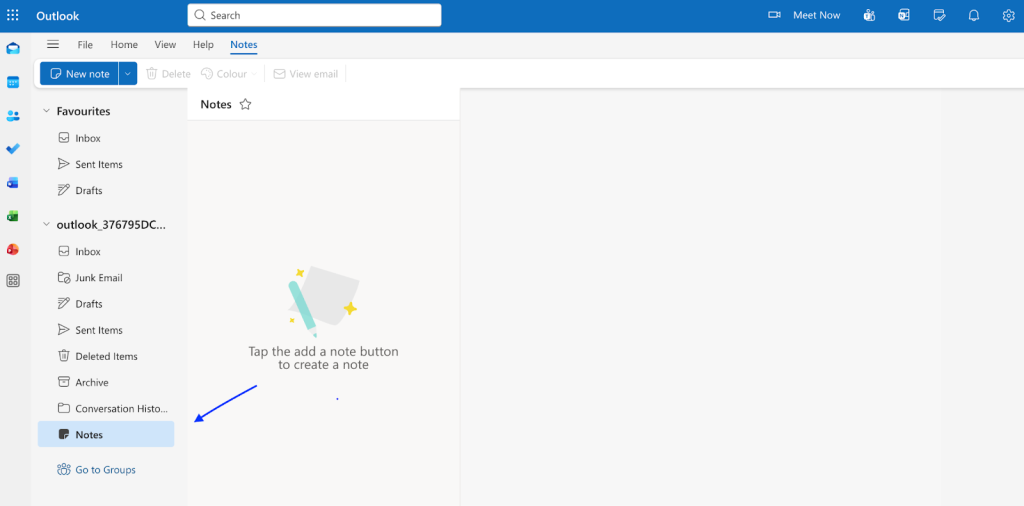
Step 3: Create a New Note
Click New Note. A small blank note window appears, ready for your text.

Step 4: Type Your Content
Write down reminders, ideas, or snippets of information. Outlook saves your notes automatically as you type.

Step 5: Add Formatting or Color
Use formatting options or assign a color category to your note. It helps you visually separate your personal and work reminders.
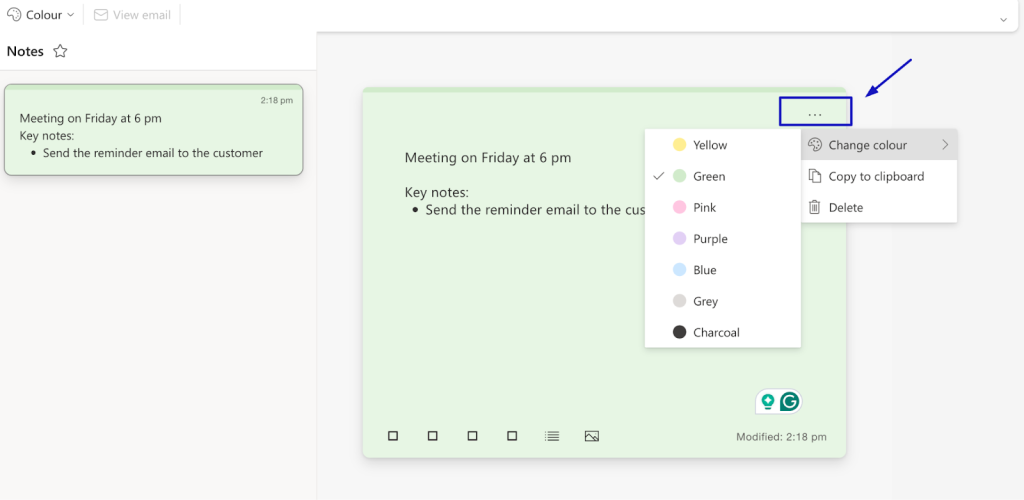
Step 6: Delete or Archive Old Notes
You can return to the Notes section at any time to view your list. Right-click a note and choose Delete or Archive once it’s no longer needed.
Now, you’ve successfully created and managed notes in Outlook
Note:
Outlook automatically syncs your notes through your Microsoft account so that you can access them from any device.
Can You Add a Note to a Specific Email in Outlook?
Outlook’s built-in Notes feature is designed for personal reminders, not for annotating individual email conversations.
You cannot directly attach a note to a specific email in Outlook. Notes are stored as separate items in your mailbox, so they are not linked to email threads or visible to other people by default.
Users often expect notes to remain linked to an email, much like comments or annotations. Outlook does not offer native support for that.
For individual use, you can work around this by:
- Referencing the email subject inside a note
- Using categories or flags
- Copying details into tasks or calendar items
For teams working in shared inboxes, these methods often fall short. Notes should be visible, shared, and tied directly to the conversation so context does not get lost.
That is where tools built on top of Outlook come in. They extend how notes work by keeping context directly attached to email conversations, especially in shared inboxes.
How Teams Add Notes to Emails in Outlook
Outlook notes work well for individual use. Teams working from shared inboxes often need notes that stay visible and connected to email conversations. Hiver, a shared inbox tool, brings that context directly into the inbox.
Step 1: Open Outlook on Your Desktop
Sign in to your Outlook account. You’ll see your mail, calendar, and tasks in one view.
Open the same Outlook inbox with the Hiver add-on enabled. The Hiver panel appears beside your emails, allowing you to add shared notes without leaving the thread.

Step 2: Go to the Notes Section
In Outlook, click the Notes icon or find it under “More Items.” It is your workspace for personal notes.
In Hiver, you don’t need to switch sections. The Notes option appears directly next to the email conversation, making collaboration faster.
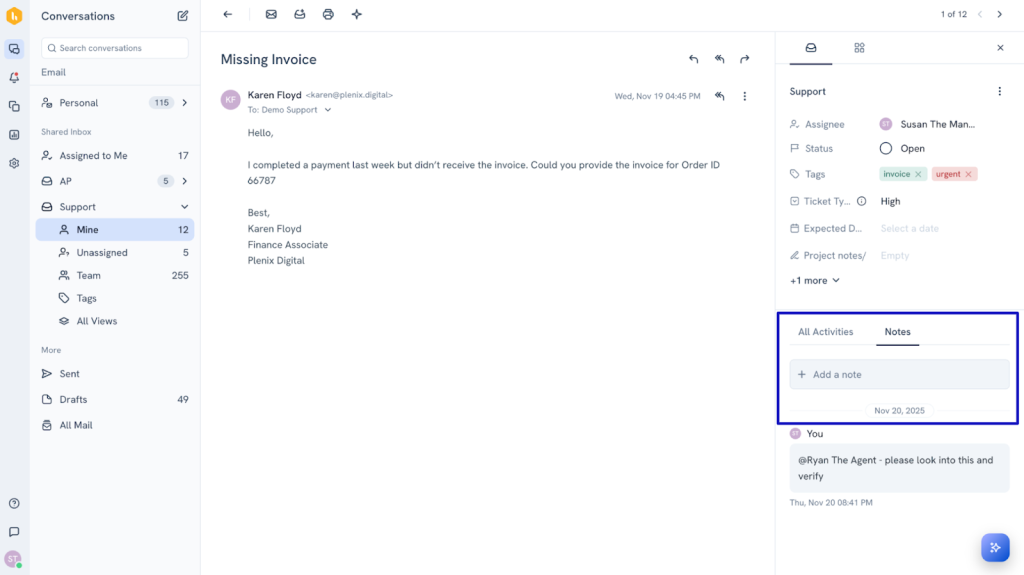
Step 3: Type Your Content
Enter reminders or short messages in Outlook. Notes save automatically. In Hiver, add detailed context, @mention teammates, or assign the note to a specific person. You can turn your notes into a shared action point.
Step 4: Review and Edit Your Notes
Hiver updates notes in real time, keeping your team aligned on the latest version.

Step 5: Delete or Close Finished Notes
In Outlook, right-click and choose Delete or Archive. In Hiver, you can delete the note or mark it as “Resolved” once a task or follow-up is complete, helping you keep your inbox clutter-free.

You’ve created a note in Outlook, and with Hiver, you’ve turned it into a live, collaborative space that keeps your entire team in sync.
Making the Most of Notes in Outlook
You’ve just learned how to create and manage notes in Outlook. Adding context beside each email helps your team track progress, follow up on time, and stay organized without leaving the inbox.
It’s a straightforward and practical way to keep communication focused and ensure everyone has what they need, when they need it.
If your team works from Outlook, you’ll want to see how Hiver fits in. It adds shared notes, task assignments, and collaboration tools right beside your inbox, no new tabs or training needed.
Try Hiver for free and see how your team can manage work and conversations from one place.
Frequently Asked Questions
1. Can I share my Outlook notes with others?
No. Outlook’s built-in notes are private and can’t be shared directly. You can copy the content into an email or shared document if you need to collaborate.
2. Do Outlook notes sync with mobile devices?
Yes. If you’re signed in with your Microsoft account, notes created in Outlook sync automatically and can be viewed or edited from any connected device.
3. Can I attach a note to a specific email in Outlook?
Not directly. Outlook notes operate independently of email threads. You can, however, reference an email’s subject or content within a note for quick context.
4. Where are notes stored in Outlook?
Outlook stores notes as a separate item type inside your mailbox. They are not saved inside the inbox or attached to emails. You can access them from the Notes section in Outlook desktop or through Sticky Notes in Outlook on the web.
5. Can I recover deleted Outlook notes?
Yes, in most cases. Deleted Outlook notes move to the Deleted Items folder, where you can restore them until the folder is emptied. Once permanently deleted, recovery depends on your organization’s retention or backup policies.