Skip to content
")

")


If your team needs a reliable system for email, file sharing, and communication, Google Workspace is a (popular) and great place to start.
It brings all your essential tools into one simple platform that is easy to set up.
You can create business emails, manage users, and organize your workflows in minutes.
And in this guide, we’ll show you exactly how to set up your Google Workspace account for your business.
Table of Contents
- What is Google Workspace – And Why Do You Need It For Your Business?
- What To Do Before Creating A Google Workspace Account
- How To Create A Google Workspace Account For Your Business
- Google Workspace: Navigating The Google Admin Page
- How Much Does Google Workspace For Business Cost?
- Grow your Workspace Setup with the Right Tools
What is Google Workspace – And Why Do You Need It For Your Business?
Before we walk through how to set up a Google Workspace account, let’s quickly look at what it actually is.
Google Workspace is a collection of Google’s business-grade apps that help you run your company more efficiently. It includes the professional versions of:
- Gmail, Google Calendar, and Google Chat
- Google Docs, Sheets, and Slides
- Google Drive and Google Keep
…plus several other productivity tools designed to help teams communicate and collaborate with ease.
But what exactly is the difference between the free version and the business version of these Google Apps?
The fundamental difference is that the Google Apps within Google Workspace (GW) for business has features to help you collaborate with your teammates within your company. And these features are generally not available in the free version.
For example:
- In Gmail for business, you get professional email addresses ending with your company name i.e. yourname@yourbusinessname.com. But in the free version, your email address has to end with ‘@gmail.com’.
- In the Google Workspace version of Google Drive, you get 30GB of storage space per user (the bigger plans include unlimited storage). But in the free version, you get only 15GB.
- In the Google Workspace for Business version of Google Calendar, you can create multiple calendars for different purposes – each with its own members, schedules, appointments, and more. But in the free version, you only get one calendar to work with.
Google Workspace’s biggest strength is how seamlessly its tools, including Gmail, Calendar, and Docs work together—so teams spend less time juggling tools and more time getting things done.
You can set up email accounts for your team in minutes, give them access to Gmail and Google Drive, and make sure everyone can reach the files they need. You can even control who can view, edit, or share specific documents.
Recommended reading
What To Do Before Creating A Google Workspace Account
Before you can sign up for Google Workspace, you’ll need three things ready to go:
- A working credit card: While you do get a 14-day free trial when you sign up for Google Workspace, you’ll still need to enter your credit card details. This will keep your account active after your trial ends.
- An alternate email address: During sign-up, you’ll be asked to enter your alternate email address (ex: your personal mail ID). This is for security purposes and can help you if you’re unable to access your account.
- A domain name: You don’t need a website to run your Google Workspace account, but you do need a domain name. It will be used as an extension of all the emails in your Gmail for business account instead of the standard ‘@gmail.com’. Although Google doesn’t explicitly mention it, it’s essential to make sure that your domain is registered online through an internet domain registrar, like GoDaddy, for instance.
How To Create A Google Workspace Account For Your Business
Here’s how to create a Google Workspace Account:
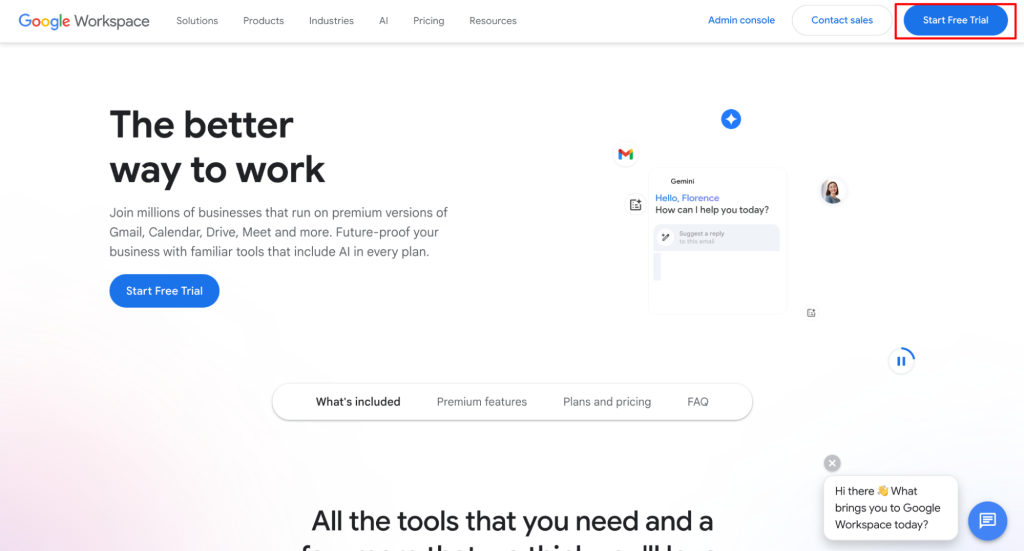
Step 1: To start, head to workspace.google.com. On this page, click on the blue ‘Start Free Trial’ button.
Step 2: You’ll land on the sign-up page. Here, enter your business name, and choose the number of people in your workspace. Click ‘Next’.

You’ll then be prompted to add your first & last name – and your current email address. After typing this info, click ‘Next’.

Step 3: In the next step, you need to choose your business’s domain. If you do not own a domain, select the first option “Get a new custom domain”. Then click on “Continue with this method”

If you already own a domain, you can select the second option.
Step 4: Next, enter your domain name by typing it out. Click on the magnifying glass icon to search for your domain.
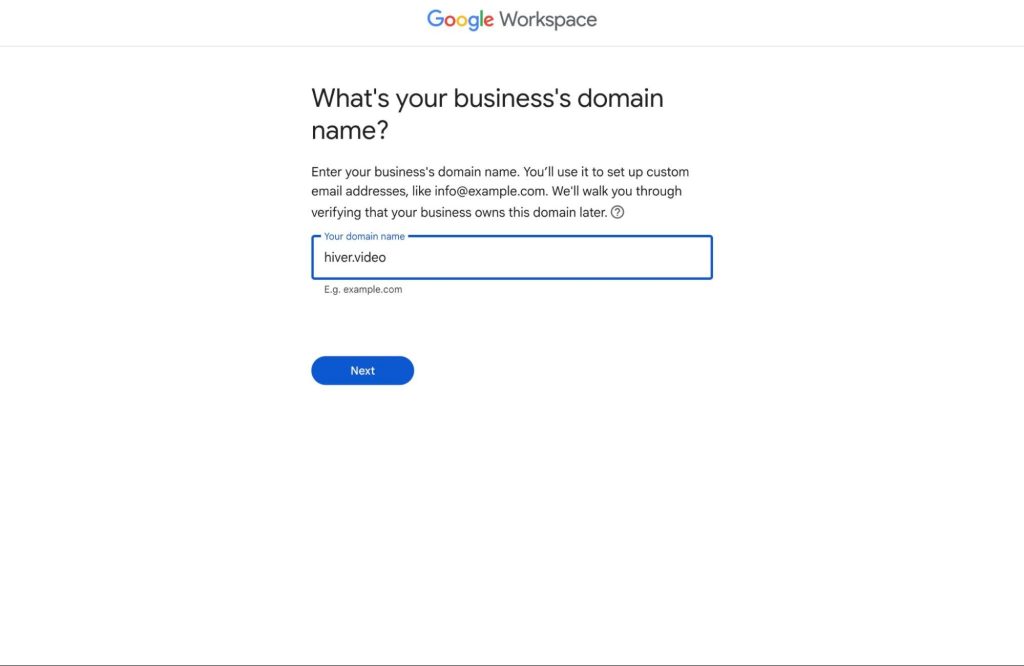
The cost of domains can range from $5-10 a year to $50+ a year. That’s because every domain has its own value, and therefore, no fixed price.
Also, note that not all domain names that you type in will be available. So it might take a few tries until you find the perfect name.
Once you find it, click on it, and you’ll reach this page. Click ‘Next’.
Step 5: You’ll land on a page where you’ll have to enter the exact address of your business. This is required to register your domain. Fill the form and click ‘Next’.
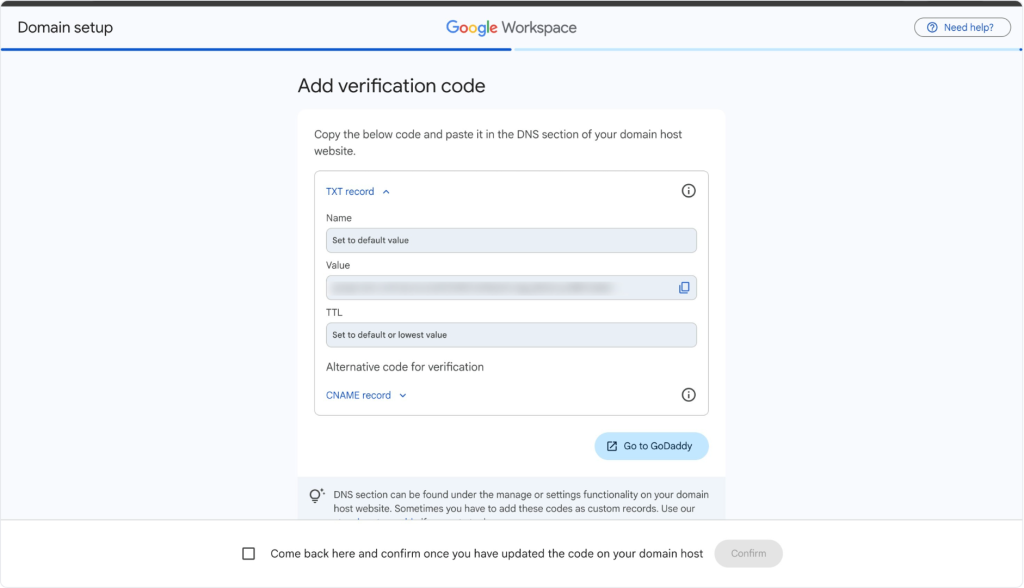
Once you do that, you’ll be asked to verify your domain.
You’ll get the option to verify via a code which appears in the value/answerdestination/ field:
Once that’s done, sign in to your hosting account, open the DNS section and click on ‘Add custom records’. There, paste the code you just copied.
If this sounds complicated, click here to go to Google’s highly exhaustive table of contents where you’ll find step-by-step instructions on how to verify your domain name via your dedicated server hosting provider.
Step 7: Once that’s done, you’ll get notified if the verification was successful, your account gets activated, and you’ll be able to send/receive emails on your Google Workspace for business account.

That’s it! You have created your Google Workspace account.
Click ‘Explore Google Workspace’ and the next page will take you to setting up your workspace account.
Google Workspace: Navigating The Google Admin Page
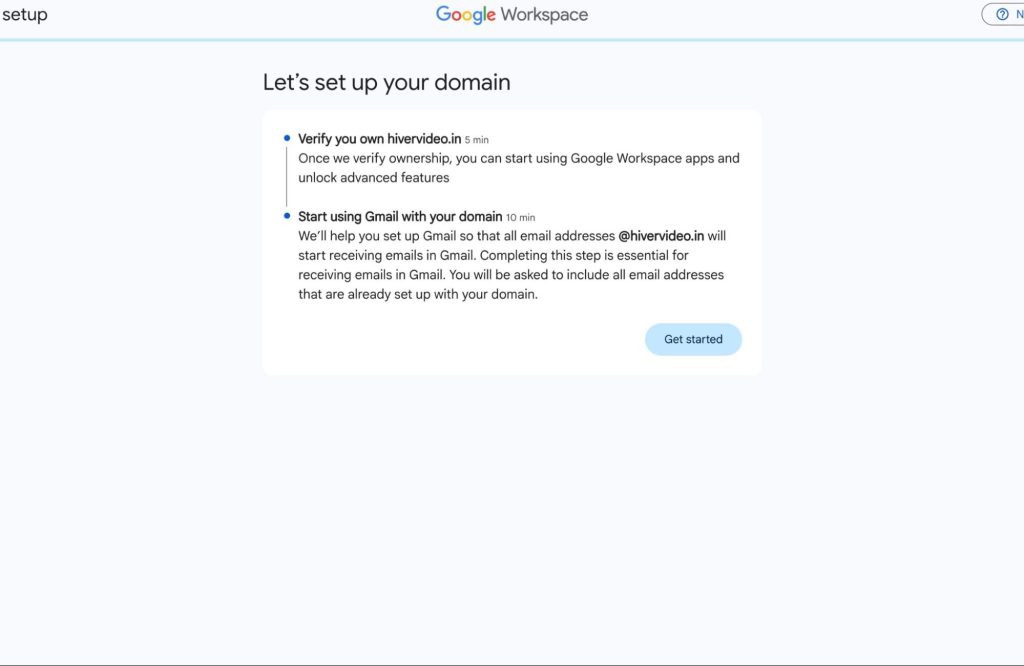
Once you’ve signed up for a free trial, you’ll land on the setup page, which will look something like this.

In the setup window, you’ve got two things to do:
- Add new users: After your Google Workspace account is active, you can add new users from your company to Google Workspace.
- Create groups for users: Once you’ve added new users, you’d want to divide them into groups for better organization.
In this section, we’ll show you how to go through these steps one by one.
- Adding new users
Google Workspace for business is a suite of tools that’s meant to be used by a group of professionals – not just an individual person (although you can certainly do that).
That being said, here’s how you add a new user to your Google Workspace for business account:

- Click on the ‘New User’ icon on the admin panel.
- To add a new user, you just need to type in their first and last name. If you want, you can also add their secondary email (their personal one) as well.
- Once you’ve added the details, click ‘Add Member’
- They get notified on their personal email that they have been added to your Google Workspace account.
- The user can log in, set their password, and get access to Google Workspace and its associated apps.
2. Creating Groups for your users
Once you have added your users, you will want to divide them into groups. This will make it easier for you to control which users can access which apps, the information they can view, and generally, the activities they can perform on your Google Workspace account.

Here’s how you can create a new group in Google Workspace:
- Now click ‘Create Group’.
- Now add your group details.

- Choose a name for your new group. It can be anything like Sales, Tech Support, HR, etc.
- Create an email address for the group. For the sake of simplicity, make the email name the same as the group name. For example, the email address of the Customer Support group can be support@yourbusinessname.com.
- Set the group owners and add any necessary labels.
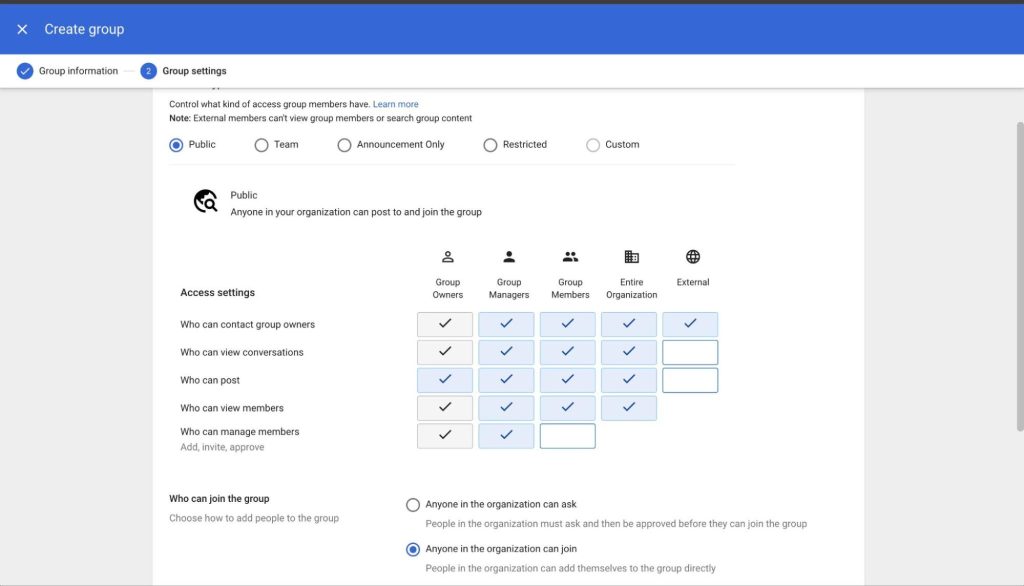
- Set the desired access level for your group, along with its access settings.
- Once you set up the group, click on the ‘Create’ button. You’ll then be able to edit it if needed, add new members, or go ahead with creating another group.

Recommended reading
So, to recap:
- Go through the signup page: Enter your organization name, choose a domain, and put in your credit card info to get started.
- Verify your domain name: To start using Google apps, verify your domain name with Google.
- Add new users and create groups for them: Add your team members/employees to your Google Workspace account and sort them into groups based on their roles within your team/company.
How Much Does Google Workspace For Business Cost?
Google Workspace’s Business Starter plan is priced at $7/month/user. As part of it, you get:
- The complete set of Google apps with full enterprise-level functionality.
- 30 GB of cloud storage per person.
- Basic admin-level controls that let you add/remove users, enable security, and more.
- Google Meet with admission up to 100 participants.

If you want more features, you’ll have to subscribe to the Business Standard plan. It is priced at $14/month/user and unlocks additional functionality such as:
- Cloud Search, a feature that searches through all GW apps to get you the results you want.
- 2 TB of cloud storage per person.
- Advanced admin features that let you set how long emails and chats can be retained for, where your data is stored, and more.
- Google Meet with admission up to 150 participants, along with the option to record meetings.
If you want even more cloud space, security, and control, Google offers other plans at a higher cost. The Plus plan is priced at $22/month/user. It offers 5TB of cloud space and robust security features, amongst other things.
The highest plan, known as Enterprise, offers a custom pricing option. You’ll need to contact Google’s Sales team to know the exact quotations.
You get a 14-day free trial across all the plans. Initially, we recommend starting with the Basic plan. It includes all the necessary features you need to run your business. You can upgrade to a higher plan based on your business needs.
Grow your Workspace Setup with the Right Tools
One of the biggest advantages of Google Workspace is the wide range of add-ons you can plug in. Once your setup is complete, the right tools can help you tailor the workspace to your team’s specific needs.
If your team manages customer conversations inside Gmail, Hiver is a great addition to explore. It brings help desk features, such as conversation assignment, internal notes, automation, AI, and analytics, into an interface your team is already familiar with.
All your support channels sit in one clean left-side panel, so nothing gets missed and your agents can work with complete clarity.
Setting it up is simple, and most teams can get started in under an hour. If you want to see how it feels inside your own Workspace, you can try Hiver for free and experience the difference for yourself.